What the tuck? A guide to sewing tucks

Self drafted top with tucks and pants made from linen
For every project I do, I like to add a special or unusual detail. It keeps the garment interesting and also helps me learn new skills. I had made these pants using Simplicity Pattern S8956 using a beautiful maize linen I got from Fabricmart.com. I knew I wanted a matching top to go for a monochromatic look but I went back and forth for months trying to decide on the final design. I had some gold rings that I also got from Fabric Mart which would make a special detail but I still wanted something more.
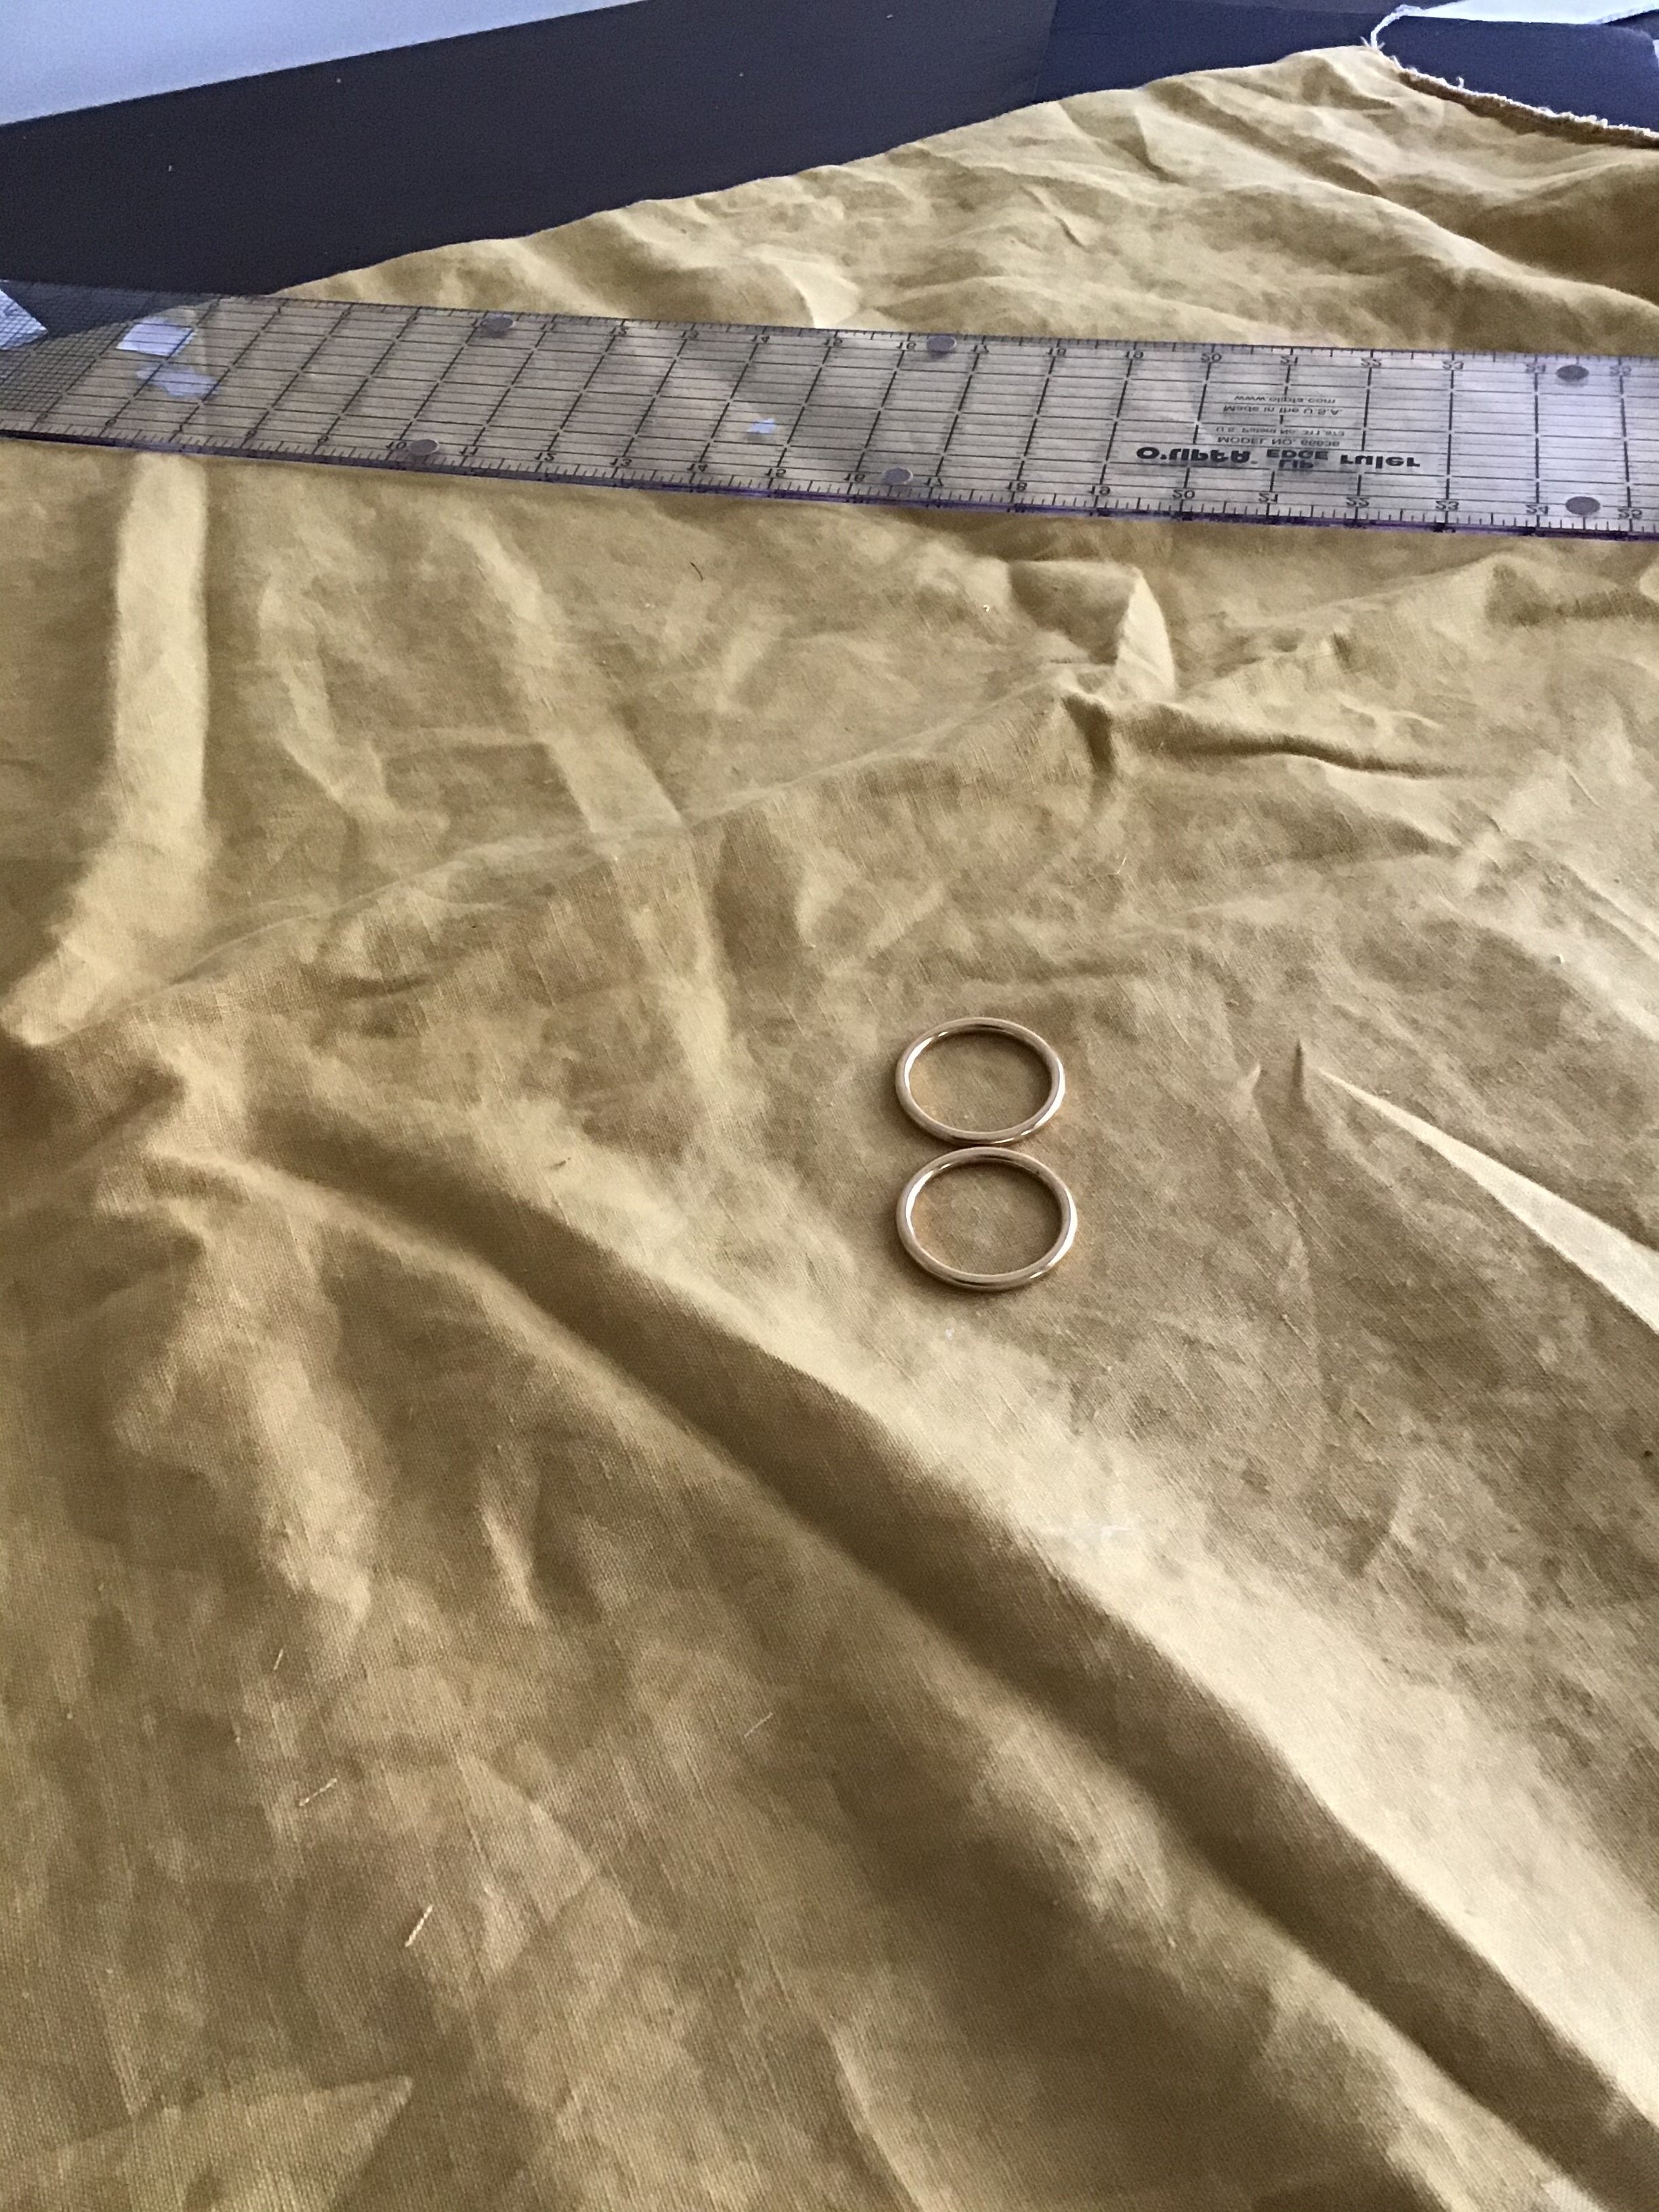
This inspiration: gold rings and linen from Fabricmart
I worked on the design for quite some time and came up with this. . .

First muslin- made out of polyester
I decided to add tucks to create texture and interest.
So, what are tucks??? The technique is very similar to pleats. However, while pleats are sewn across the top, tucks are sewn along their entire length. This gives them a 3-D effect compared to the surrounding untucked fabric. You can add tucks by hand (as I did with this project). But if you want a flatter, narrower tucks, you can use a twin needle and a pintuck presser foot.
While you can add tucks to lightweight fabrics, I do feel the technique is best suited for fabrics that crease well with ironing (eg, cotton, linen). If you are adding tucks to a specific pattern piece, it is necessary to add the tucks to your fabric and then cut out your pattern pieces from the single layer of tucked fabric. If you cut out your pattern piece first, you will definitely alter the size/shape of the piece.

Here is what you need:
- Your favorite marking tool that you have tested on the fabric so that you know the marks can be easily removed.
- A ruler
- Your fabric
- Matching thread
- Your patience: this process requires a lot of precision and can become tedious.
A few tips:
If you are inserting a panel of tucks into a garment, prep a piece of fabric that is larger than the pattern piece that you need. The amount of extra fabric depends on the number and depth of tucks you are creating.
On the right side of the fabric, mark a seam allowance (most commercial patterns are 5/8 inch but when I draft my own, I use 1/2 inch seam allowances). For marking of the fold lines, it will be easiest if you work parallels to the selvage. If your fabric does not have a selvage, find the straight grain and draw a line parallel to that. Drawing the fold lines will be easiest if you have a clear quilting ruler or an L-square.
3. Though I did not do this in the video below, you can mark the depth of the tuck on either side of the fold line. Bring those lines together at the top and bottom. This is more work but it will help to keep your folds straighter.
4. Fold on the the fold line and sew at the chosen depth.
Want more details? Check out the video below! I hope this helps!